Table of Contents
Thinknx IFTTT Guide
-
What is IFTTT and why should you use it?
IFTTT is an initialism for If This Then That. It is a free web-based service to create chains of simple conditional statements, called applets. An applet is triggered by changes that occur within other web services such as Gmail, Facebook, Instagram, or Pinterest. In addition to the web-based application, the service runs on iOS and Android.
- For instance, if someone comments on your WordPress blog you can thank them automatically with an email.
- If every time you post an image on Instagram it can be automatically uploaded as a Tumblr post.
- If every time you are tagged in a photo on Facebook, it will automatically save the photo to your iOS Photos.
- Used in home automation, it will switch ON a light when detecting motion in a room (with associated compliant devices).
Figure 1: IFTTT Slogan
IFTTT Structure
Figure 2: IFTTT Structure
IFTTT employs the following concepts:
- Services are the basic building blocks of IFTTT. They mainly describe a series of data from a certain web service such as YouTube or eBay. Services can also describe actions controlled with certain APIs, like SMS. Sometimes, they can represent information in terms of weather or stocks. Each service has a particular set of triggers and actions.
Figure 3: IFTTT Services
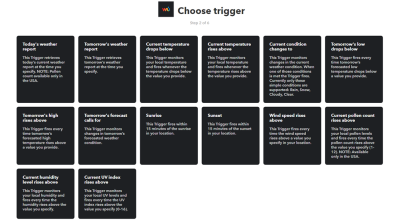
- Triggers are the “This” part of an applet. They are the items that launch the action. For example, from an RSS feed, you can receive a notification based on a keyword or phrase.
Figure 4: IFTTT Trigger
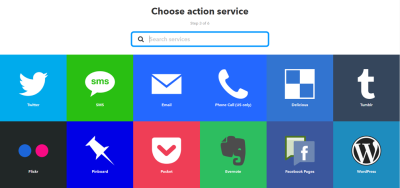
- Actions are the “That” part of an applet. They are the output that results from the input of the trigger.
Figure 5: IFTTT Action Service
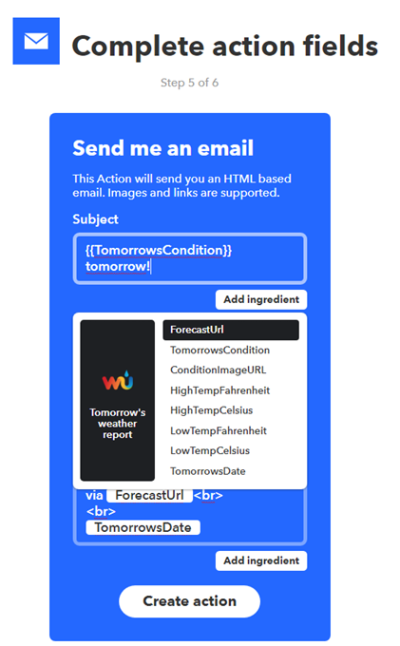
- Ingredients are the basic data available from a trigger. For example an “email” trigger can give the following ingredients: subject, body, attachment, received date, and sender’s address. The Applet can take the individual ingredients provided by the trigger and use them to fill in action fields.
Figure 6: IFTTT Ingredients
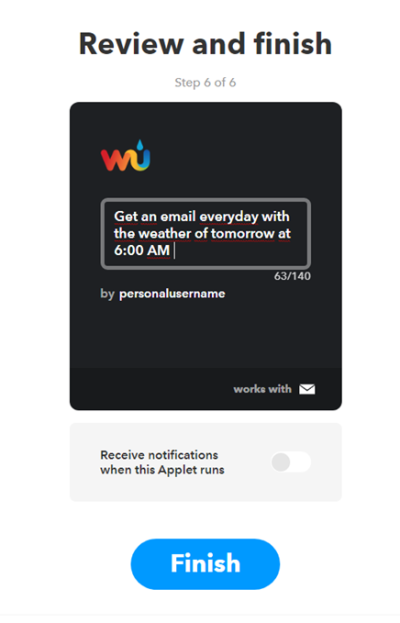
- Applets (formerly known as Recipes) are the predicates made from Triggers and Actions. They allow users to automate interactions between different services they use. For example, if you say “lights on” to Alexa (trigger), it turns on the lights (action).
Figure 7: IFTTT Applet
Start with IFTTT
Go to https://ifttt.com/ to create an account with IFTTT. You can sign up using your Google or Facebook account, or by entering your email address and password. Once signed in, click on “My Applets” to start creating your first applet.
Figure 8: IFTTT Account
Thinknx and IFTTT
Thinknx uses the IFTTT service named “Webhooks”. Through this service it is possible to:
- Create an action on IFTTT when a Thinknx object changes its status (see section 3).
- Send a command to Thinknx when a condition is met over another service (see section 4).
1. Enable IFTTT on Thinknx Server
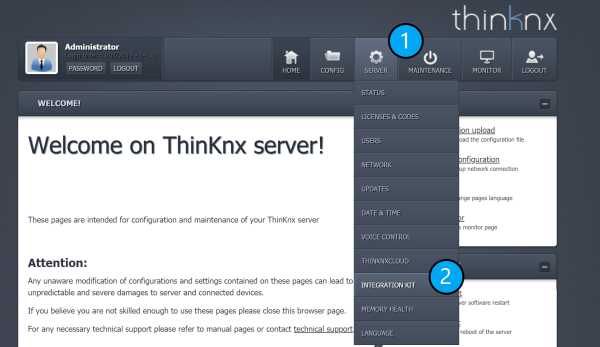
Go to the web page of your Thinknx server, under “Server” tab, select “Thinknx Cloud”. Click on “Enable Integration Kit”. For more information about the Integration Kit and how to use it with third party systems, check out the Integration Kit wiki page.
Figure 1.1: Enable Integration Kit
2. Configure Webhooks
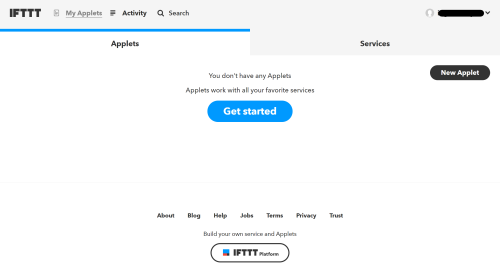
Inside your IFTTT account, click on your username and select Services from the list.
Figure 2.1: IFTTT Username
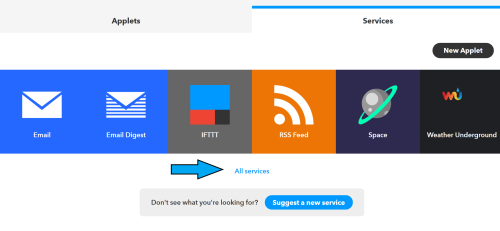
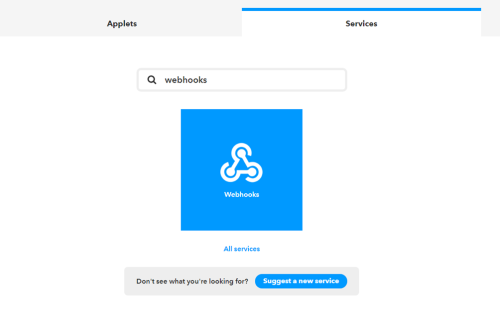
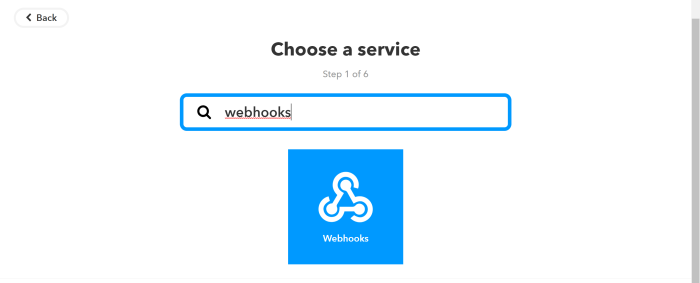
Make sure to click on “All Services” button under the preferred services, input the word “Webhooks” in the search bar and click on the result.
Figure 2.2: IFTTT Account Services
Figure 2.3: IFTTT Webhooks
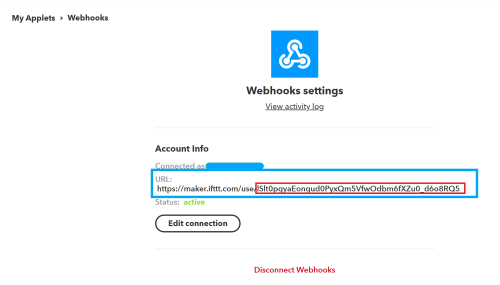
Inside the “Webhooks” service, click on “Connect”, then go to “Settings”.
Take note of the URL associated to your account, especially the KEY section (https://maker.ifttt.com/use/[KEY])This step will create a dedicated key to establish communication with Thinknx Cloud. The key will permit to create actions on Thinknx server, therefore it is important to keep it secured to prevent security attacks.
Figure 2.4: IFTTT Webhooks URL
3. Sending an action from Thinknx to IFTTT
Inside Thinknx Configurator
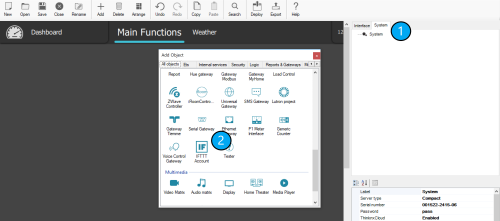
If you want to execute an IFTTT action when a Thinknx object changes its status, start by going to “Sytem” tab inside Configurator, and add the object “IFTTT”.
Figure 3.1: Add IFTTT Account in Thinknx
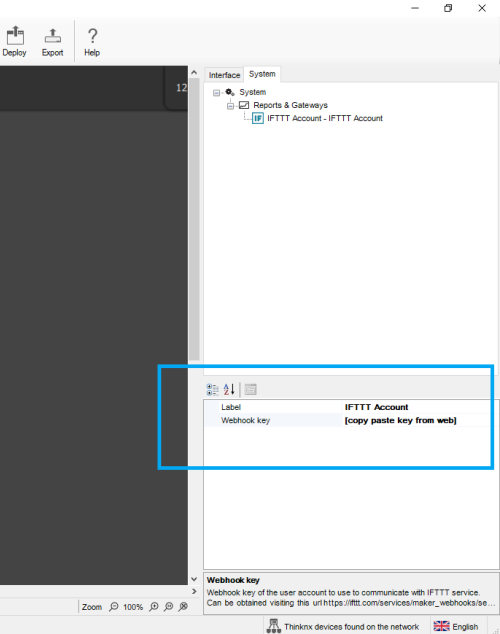
Click on IFTTT Account, and copy paste the Key from your Webhooks URL (see section 1. Configure Webhooks above).
Figure 3.2: Add Webhooks Key to Thinknx
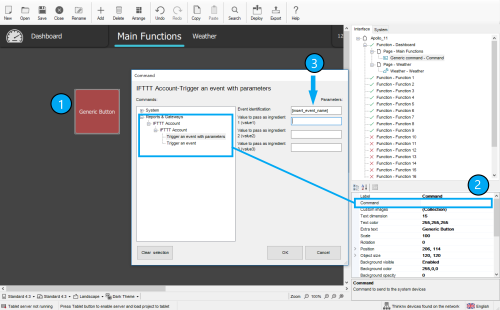
Next, add a “Generic Button” inside your page, and configure the command to be sent as IFTTT. Insert an “Event Identification” to be used later on when creating the Applet.
Figure 3.3: Add IFTTT command in Thinknx
Inside IFTTT account
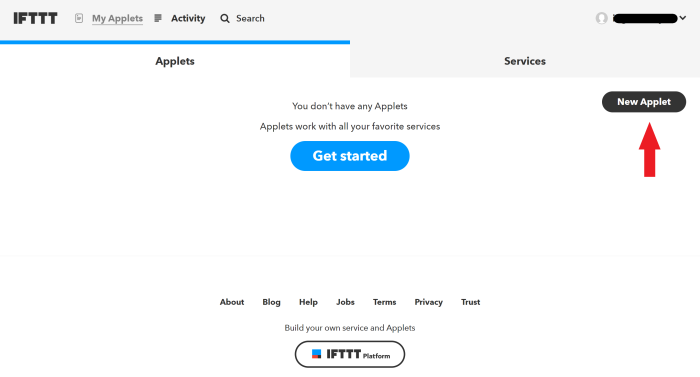
Sign in to your IFTTT account on https://ifttt.com, go to “My Applets” and click on the “New Applet” button.
Figure 3.4: Create New Applet
Click on “+This” and search for “Webhooks” to place it as a trigger.
Figure 3.5: Click on IFTTT “+This”
Figure 3.6: Add Webhooks as “This”
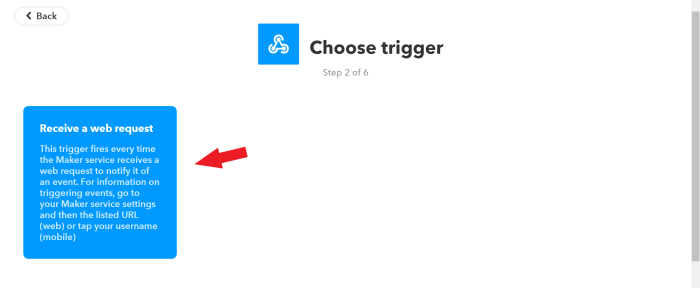
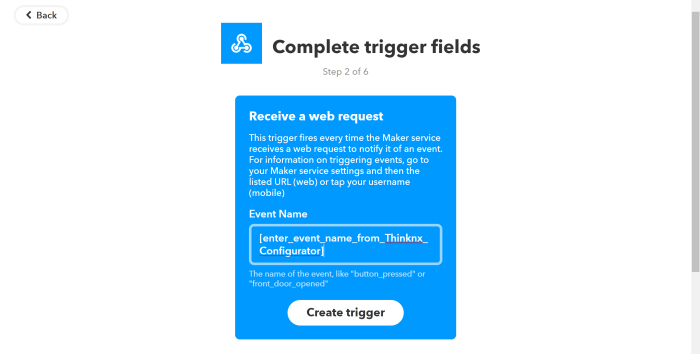
Select “receive a web request” and enter the “Event Name” given inside the Configurator.
Figure 3.7: Add Trigger
Figure 3.8: Add Thinknx Event Name
Next, you can click on “+That” to configure any action required choosing the preferred service.
4. Sending an action from IFTTT to Thinknx
The same concept as section 2 applies, but instead of choosing Webhooks as “+This”, it will be selected as “+That”.
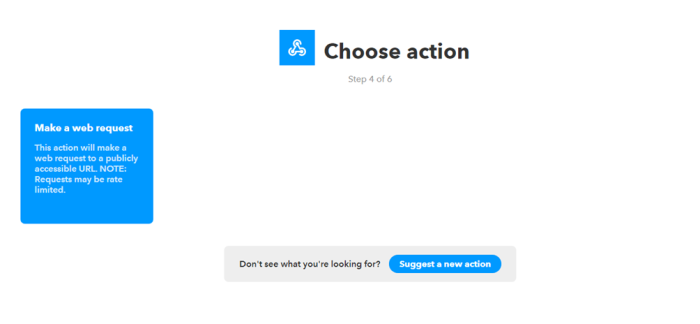
Start by adding a trigger that will be used to command a Thinknx object, for example when an event starts or finishes on your Google calendar, and include it as “+This”. Then, click on “+That” and select “Webhooks”. Click on “Make a web request”.
Figure 4.1: Add Webhooks as +That
Then click on “Server” tab again, and select “Integration Kit”.
Figure 4.2: Select Integration Kit
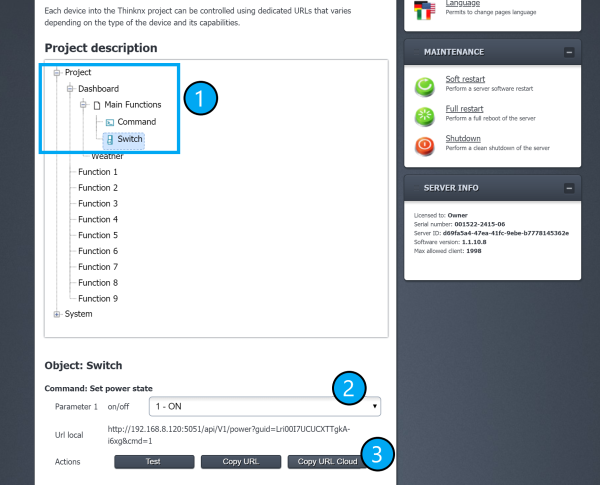
You will see the entire tree of your uploaded project. Go to the desired object to be controlled from IFTTT and select it. Choose the command to be sent(for example ON), and click on copy Cloud URL to be able to send the command remotely.
Figure 4.3: Copy IFTTT URL
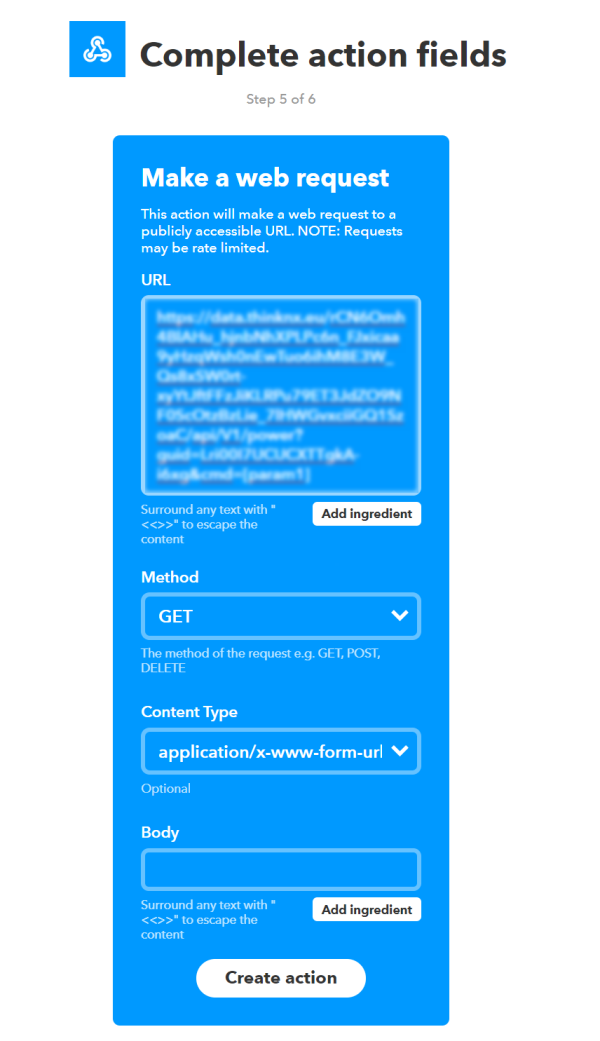
Go back to your Applet on IFTTT website and paste the URL. Leave the Method as “GET” and select under “Content Type” the option “application/x-www-form-urlencoded”. Finish by clicking “Create Action”.
Figure 4.4: Creating an action for Thinknx
Example 1: Thinknx to IFTTT
Applet (Recipe): “When ambient temperature in the cellar rises above 10°C (measured by KNX sensor), make a VoIP call through IFTTT.”
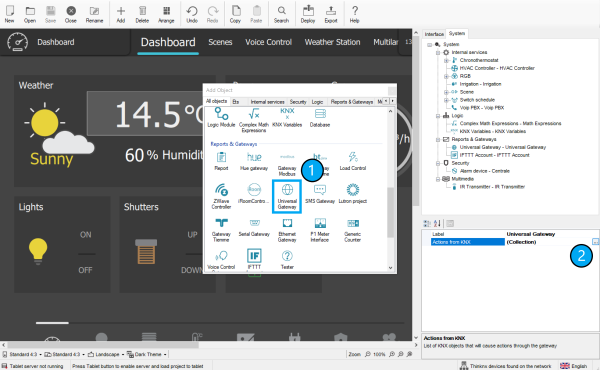
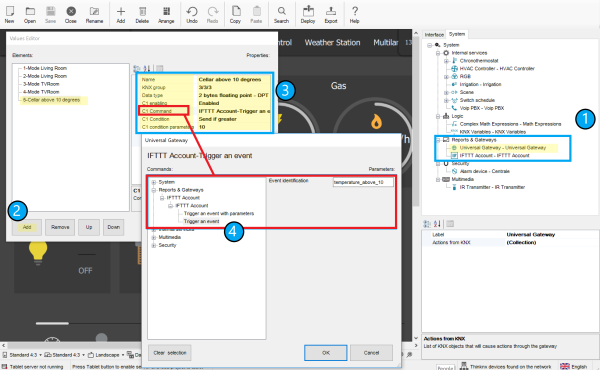
Inside Thinknx Configurator, under “System” tab, add “Universal Gateway” and click to open the “Actions from KNX”.
Figure 1: Add Universal Gateway
Click “Add” to insert a new element and label it as desired.
Enter the KNX group address and Data Type of the Cellar's ambient temperature.
Enable Condition 1 and click on command. A new popup will open to create the IFTTT event under “Reports and Gateways”. Once the event is labeled, close the popup.
Choose as condition “Send if greater” and enter the value 10 in the condition parameters to indicate that “if the temperature is higher than 10 degrees then the event will be launched”.
Figure 2: Create IFTTT event in Thinknx
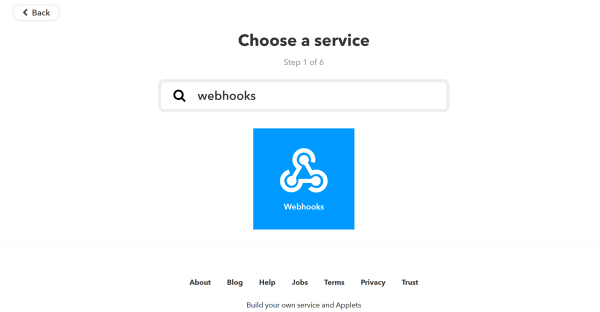
Go back to the IFTTT website to create a new applet. Click on “+This” and search for “Webhooks”.
Figure 3: Add Webhooks as Trigger
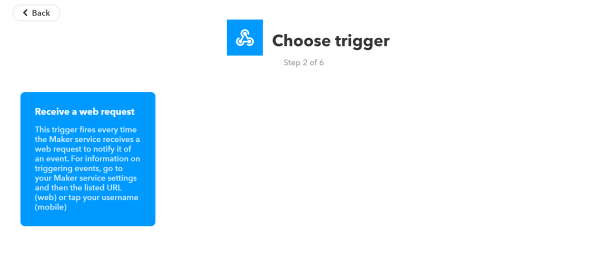
Select “Receive a web request”.
Figure 4: Select “Receive a web request”
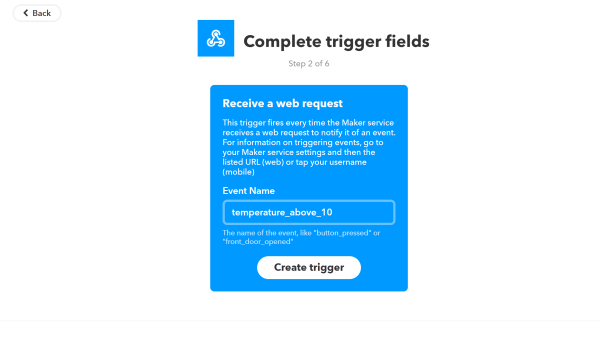
Enter the event name created in Thinknx.
Figure 5: Select “Insert event name”
Click on “+That” and search for “VoIP”.
Figure 6: Add VoIP as Action
Select “Call my device”.
Figure 7: Select “Call my device”
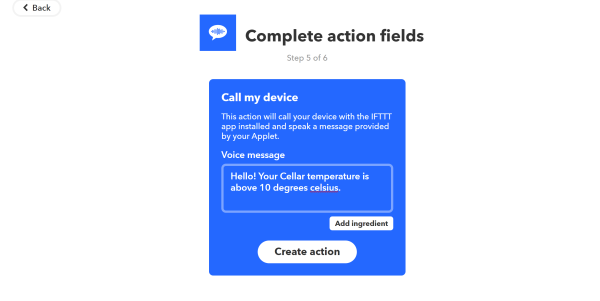
Enter the voice message you want to hear when the event takes place.
Figure 8: Select “Insert event name”
Example 2: IFTTT to Thinknx
Applet: “When client says Good Morning to Google Assistant, launch Thinknx scene.” Start a new Applet on IFTTT website. Click on “+This” and search for “Google Assistant”
Figure 1: Create Google trigger
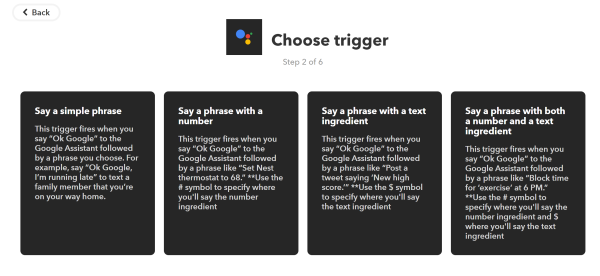
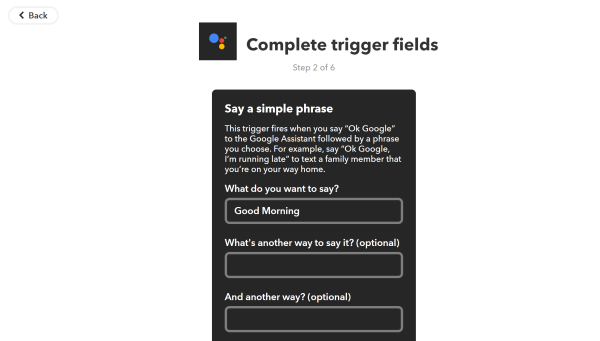
Select “Say a simple phrase”, and enter the phrase “Good morning” and any other alternatives you want. You can even write down the assistant's reply
Figure 2: Select your trigger
Figure 3: Enter the sentence
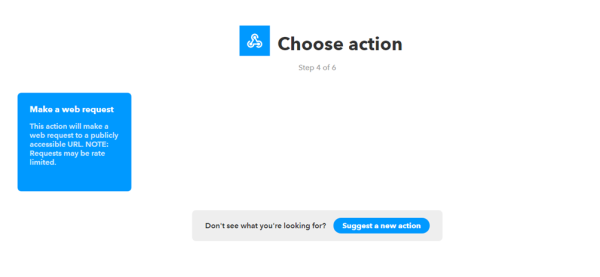
Next, click on “+That” and select “Webhooks”. Click on “Make a web request”.
Figure 4: Add Webhooks as Action
To get the URL, go to the Thinknx server's web page, select “Server” tab and click on “Integration Kit”.
Figure 5: Go to “Integration Kit”
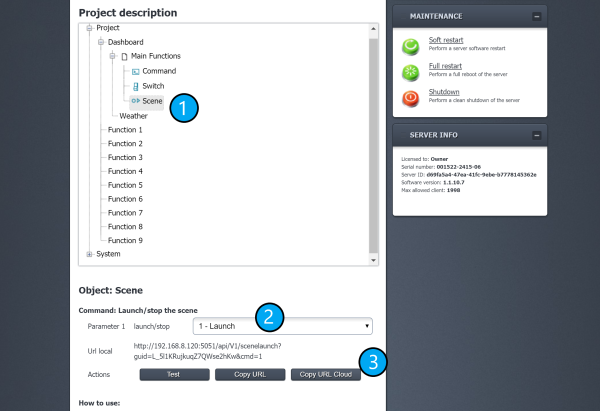
Search for the Good Morning Scene in the Project tree, select “Launch” as parameter and click on “Copy URL Cloud”.
Figure 6: Select Scene in Thinknx
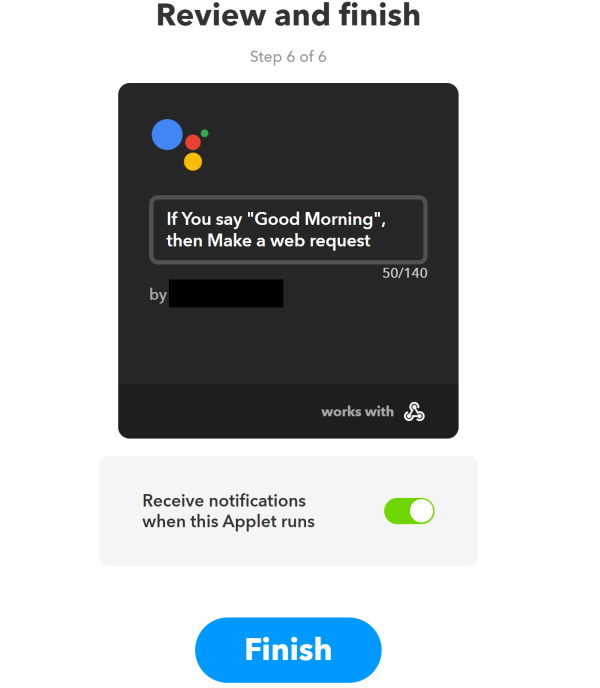
Go back to your IFTTT web page and paste the URL. Click on “Create Action” and the applet will be created.
Figure 7: Create Applet
